Duda's Monthly Wrap Up (March)
This post is part of our Monthly Wrap Up series - a collection of small product and feature improvements we’ve released in the past month.
Rounded corners are here!
You can now define the corner radius of almost any element in the editor using pixels or percent. This applies to both the Classic editor and when in Flex Mode, and it gives you even more design power than before. Enjoy 😉
AI Assistant improvements for increased productivity
Check out these time-saving AI Assistant updates that will speed up your site building workflow and will help you launch sites much faster:
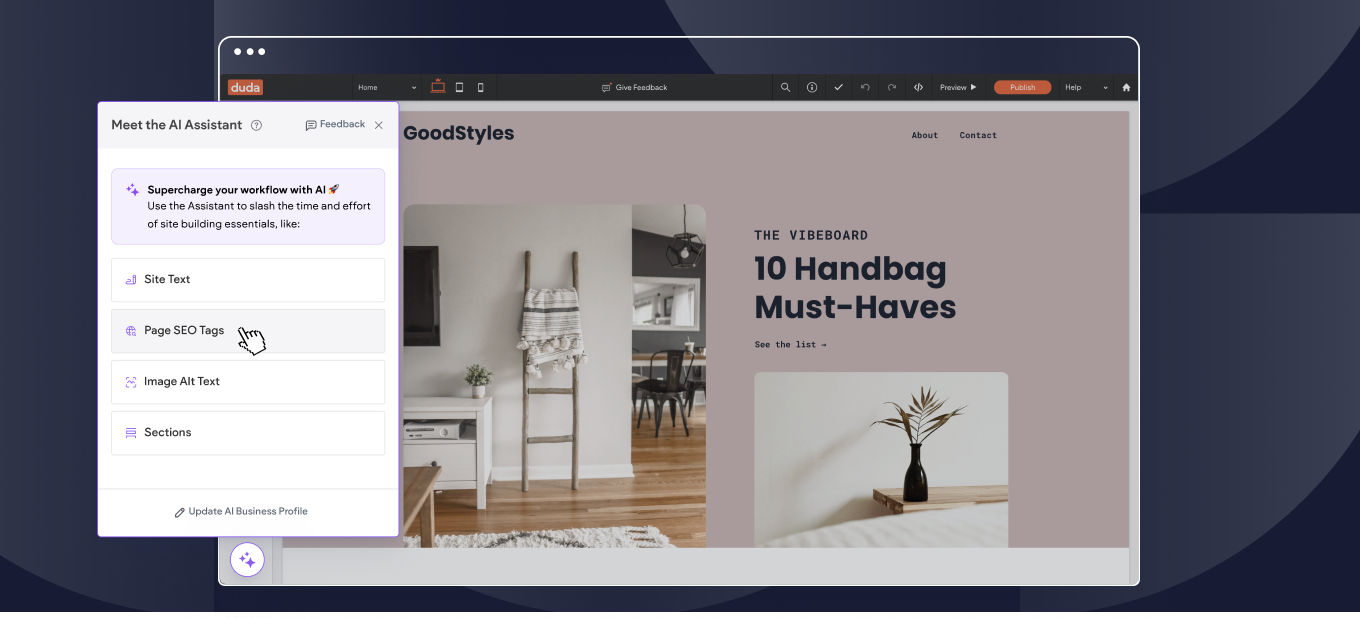
New AI Assistant shortcuts
See all the ways in which the Assistant can help you out with your site in one place. Quickly navigate to each of these for super quick generation, whether it’s for site text, page meta tags, image alt text, or page sections (coming soon). When editing a site, click the sparkles icon on the bottom left corner to see and use these shortcuts.
That's it for this month's Wrap Up. We hope you find these useful. Got an idea or a feature request? Stop by our Idea Board and post it.
Deeper business context for better output results
We’ve added a new field to the AI business profile - the geographic area the business is serving - for even more optimized SEO meta tags and site content.
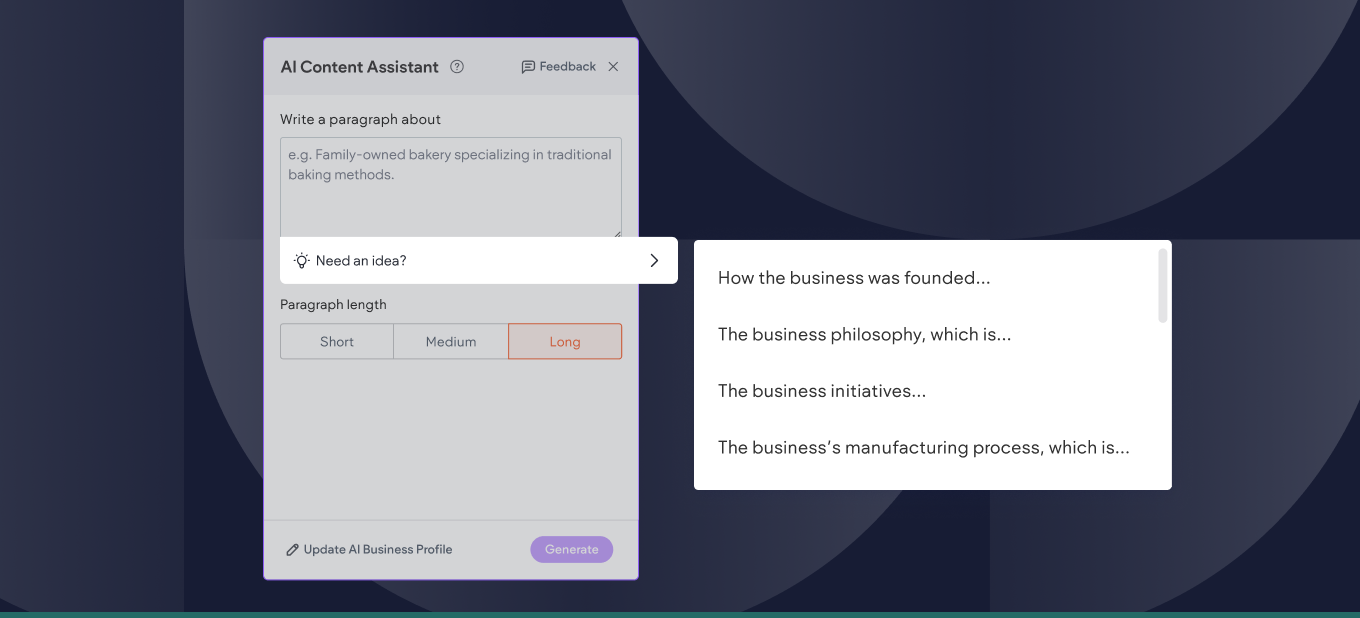
New prompt ideas for text generation and custom prompts
To help you use the Assistant as best as possible, and to get the most relevant generated content for your site, we’ve added a list of ideas for you to choose from, to get you going and provide the context. You’ll find these new ideas when editing your profile, and when generating titles, paragraphs, and custom prompts.
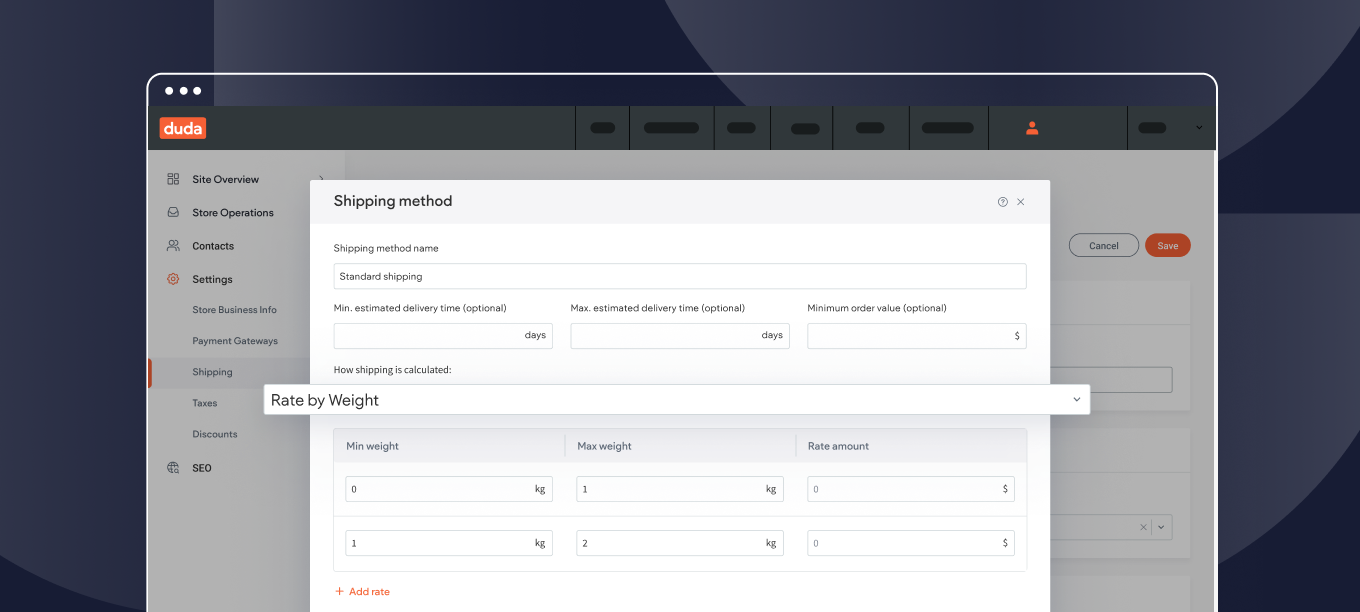
Shipping by weight now supported in Duda eCommerce
We’ve added a new shipping capability to the Duda store, to allow your eComm clients to offer and calculate shipping costs based on purchased items’ weight. To give an example, they can offer a flat shipping rate for orders that fall within the 0-1 kg range, another one for orders weighing 1-2 kg, and so on.
This is especially useful for businesses selling products of varying sizes, and helps both customers and sellers get a clear idea of the exact shipping costs each order carries.
To do this, create a new shipping method in one of your shipping zones, and choose the Rate by Weight option when choosing the rate type.
Flexbox is now called Inner Column
To simplify things and help you keep your focus as you design sites in Flex Mode, we’ve changed the name of the Flexbox component to what it really is - inner column. Use inner columns (with either a horizontal or vertical stacking direction) to quickly design and control a group of elements within a column nested inside another column.
When in Flex Mode, you can add an inner column from either the Widgets panel or from the column context menu.
LATEST POSTS